Axkva Min Instance
Requires:
Once again, an Empire in Flames takes content from Star Wars Galaxies and puts its own unique spin on it.
It’s time to begin your journey into the instance and defeat the Nightsister threat.
Encounters
Nandina and Gorvo
Before you begin, make sure that everyone is buffed and ready to go.
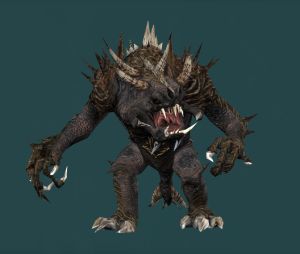
Nightsister Witch Nandina, and her pet Rancor Gorvo are already spawned in the back of the Chamber when you enter. The two share a buff which allows Nandina to heal Gorvo for a massive amount of health so it is imperative to split the two up and get Gorvo out of range of Nandina's heal.
Split the two up and kill Nandina first. Once Nandina is down kill Gorvo. When both are dead, return your group to the edge of the bridge and prepare for phase 2.
Lelli Hi
Lelli Hi is not too difficult. The biggest things to avoid here are the mines she drops under players' feet when she goes to cloak. These are pretty easy to see so make sure you watch where you're walking. The mines that she drops explode and cause a large amount of damage. Keep up the DPS and debuff her whenever possible to bring her down. It's best to keep on the move and prevent your character from getting stuck in "animation lock" so you can move away from the mines as they spawn in.
Kimaru
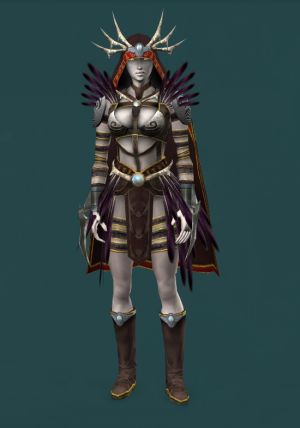
Kimaru is one of the most difficult phases of this Heroic Encounter. Not only does she cause fire rings to spawn that don't despawn until she dies, she also has a Force Shock ability that totally dominates her opponents. It may help to enable the 'show all object names' option from the 'Options' menu (under "Misc" tab) as this will make the Force Storms and Fire Rings Kimaru creates more obvious and easier to avoid. These fields spawn when players stand still so it helps to keep all group members moving at all times during the fight as the fields cause significant damage on contact.
Fortunately for you, both of these monstrous attacks are avoidable. The key to this phase is to keep her on the stairs (as if she is there, its safer for medics to heal without worring about them), but WATCH YOUR STEP, and keep as close as you can of Kimaru so the Fire Rings and Storms don't spread all over the place. There are two things to look out for here—the circles of fire on the ground, and the purple lightning that circles around the room (if you don't see these turn your particle limit up in options under graphics). If you can avoid both, you will avoid most of the major damage during this fight. Melee profs just make sure you don't get led into a fire ring and be sure to avoid the purple lightning if you see it closing on you.
Suin Chalo
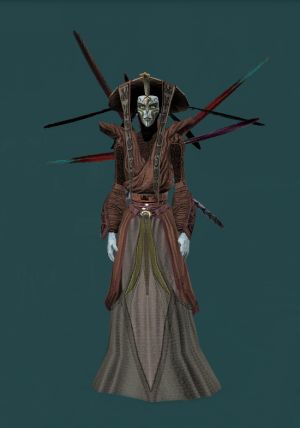
Many people overestimate the difficulty of this phase. Suin Chalo spawns minions who are only vulnerable to certain element types. The bright side to this is that each minion has extremely low health. Add to that the fact that Suin Chalo doesn't have much health herself and this phase is a cake walk.
Any players who do NOT have acid, electric, heat, or cold damage weapons should continue to focus ONLY on Suin Chalo herself. Unlike Nandina and Gorvo, Suin Chalo still takes full damage even when her minions are spawned. In no particular order, the minions and their respective vulnerabilities are:
- Ekomal - Acid Damage
- Doum - Electricity Damage
- Oxvul - Heat Damage
- Hur'dem - Cold Damage
As Suin takes damage she will periodically spawn these minions. They are most easily dealt with by a designated weapon switcher (carbines can easily cover all damage types needed).
Axkva Min
After a brief discussion between The Eternal Warden and Axkva Min , Axkva will kill the Warden. This means that you can go back into the tunnel if you like (although that might not be a good idea). Also be aware that there is no downtime for this instance except when Axkva is talking to the Warden.
After that is done, she will no longer charge at your group. Min will continue to stay in the center until someone aggros her. Try to keep some space between each other especially near the end or you will get nuked.
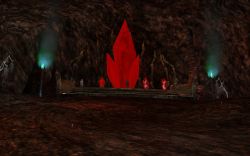
Axkva Min periodically traps players in Banishment Crystals that deal a good chunk of damage every second. The key to this phase is to destroy the crystals. Banishment Crystals take priority over just about everything else. A player trapped inside a crystal for more than 5 or 6 seconds is practically doomed to death, but they are rather simple to destroy. In fact, the player that is trapped inside of them can attack the crystals and free themselves in a few seconds. .
A good attack plan is to have your group stack up on top of her and continually hit her with AoE attacks. While this will slow damage output the AoE will help destroy the Banishment Crystals which periodically entrap players.
Loot
- Hand-struck Coin (guaranteed)
- Augwyn (painting)
- Kyrisa (painting)
- Large Indoor Garden
- Morathax (painting)
- Nightsister Lorekeeper (painting)
- Schematic: Nightsister Energy Sword
- Schematic: Shrouded Helmet
- Schematic: Witch Mask
- Singing Mountain Councilwoman (painting)
- Singing Mountain Initiate (painting)
- Small Indoor Garden
- Watching the Witches (painting)


